So the dreamer in me tries to figure out how to get the look with whatever resources that I have on hand.
One of my favorite things are French enamel tags and signs, especially old, chipped ones.

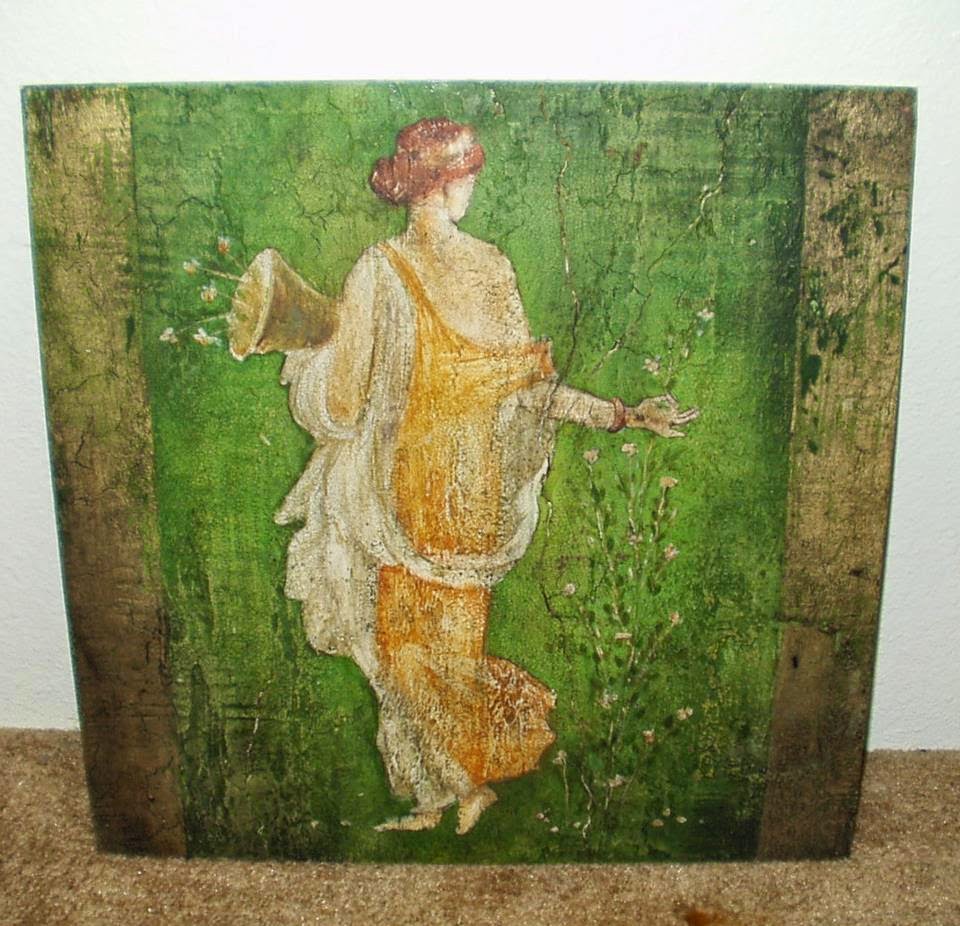
Using the techniques from my first module with the Farragoz online course where I learned how to recreate old world finishes, I tried to figure out a way to get the look of enamel from wood tags. You can see my first module project, a St. Michael's Icon here.
After some trial and error, I came up with a technique that works really well and even got to use my trusty Silhouette Cameo! With the Silhouette you have many fonts at your disposal and are not limited to one size. I printed the file on paper first to make sure that I had gotten the right size for each of the tag shapes. And then of course I tried to get as many on a sheet of 12 x 12 vinyl as I could. I used a Cricut mat under the vinyl as I find the mat keeps the vinyl from sliding.

For those of you who were asking about the fonts used in this project, I used Shadowed Serif for the shield shapes. And for the numbered tags, I used Gloucester MT Extra Condensed and Crashing Number Serif. All fonts used in this project were free.
I found that ready made wood tags are really the most cost effective option out there. These inexpensive precut wood tags can be found at your local craft store. I found them at Walmart in the craft section. They come in a bag of 10 and cost around $1.50 If your Walmart does not carry them, I have also seen them at Hobby Lobby which is where I found the wood shield shapes. Those were around 25 cents each.

**Disclaimer: I used a recipe for gesso that unfortunately, I am unable to share with you out of fairness to Farragoz and can only assume that store bought gesso would give you a similar effect, but I have not gone as far as trying it with store bought gesso.**
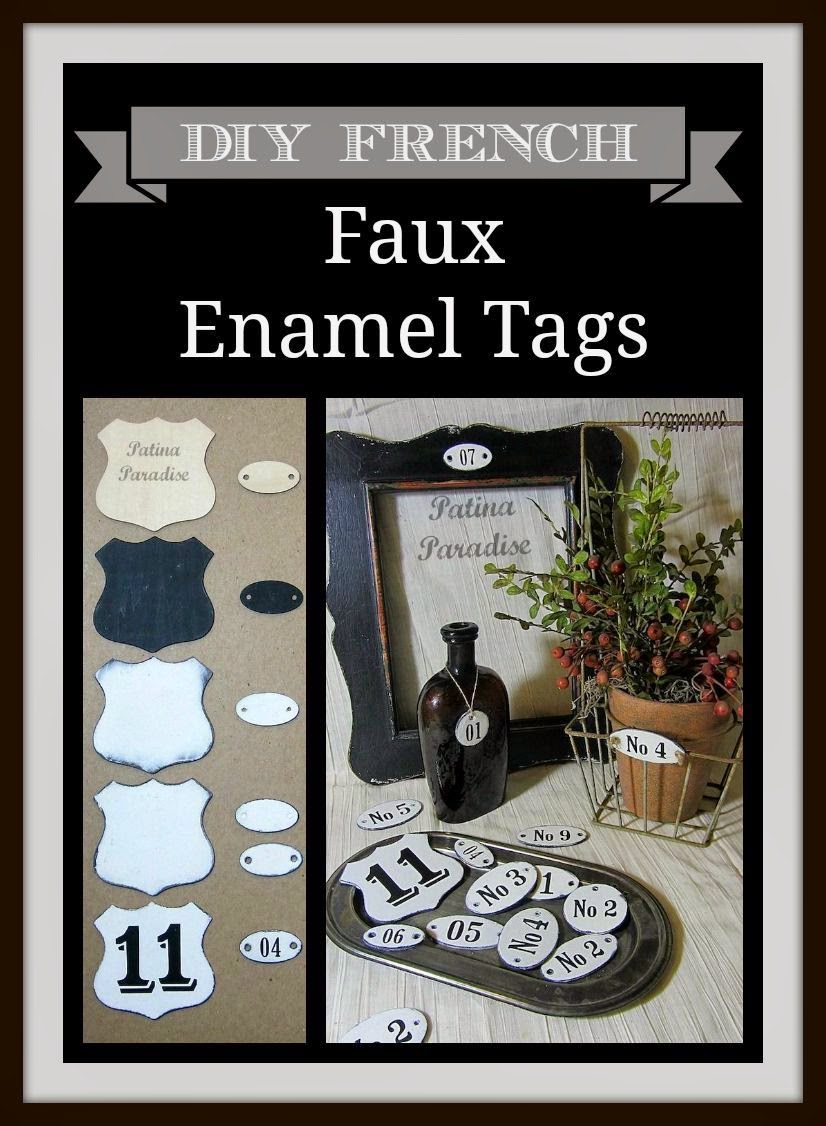
I'll run down the steps I used to create the vintage style aka Brocante French Enamel Tags and Signs next.
DIY Faux French Enamel Tags Steps
Before you get started make sure you have the following supplies:- precut wooden tags/signs
- black acrylic paint
- gesso
- 1 — 12x12 sheet of black vinyl
- Mod Podge (sealant)
- small and medium sized paint brushes
- flat edge for scraping gesso (examples: putty/exacto knife, razor, etc.)
Optional:
- bamboo skewer/sharp pointed object (clearing clogged paint)
- jute or ribbon to attach the tags
Rather than taking photographs at each step, I photographed an overview of the steps for each phase below...

Overview of Steps Involved:
Step 1 — Buy wood shapes that you like. If you would like to have holes in the tags for stringing, then make sure to drill one or two before doing anything else.
Step 2 — Paint with a base coat of black acrylic paint. I painted both sides to prevent warping of the wood and to give them a more finished look and make it easier and faster to paint. (But this is optional)
Step 3 — Once the base coat has dried, brush on the homemade or store bought gesso. Let the tags or signs dry FIRST before applying another layer of gesso. For my Farragoz gesso recipe, I found that 3 coats gave me the desired effect.
Step 4 — Use a razor blade, exacto knife or putty knife at an angle to take off any excess gesso from the sides and edges of the holes to expose the black basecoat underneath. If you've got tags with holes in them, use a bamboo skewer or similarly narrow pointed object to poke through the holes to remove any gesso or paint that is clogging them.
Step 5 — Create your letters/numbers. I made mine out of black vinyl because that's what I happened to have on hand, but there are lots of great alternatives out there. You could use either a small stencil or some ready made vinyl letters and numbers. I cut my numbers out of a piece of 12x12 vinyl with my Silhouette Cameo and then applied them onto each tag.
Step 6 — Finish with a Topcoat of Sealant Protect your signs/tags with 1 or 2 coats of Mod Podge or clear coat of acrylic sealer.
That's it you're done! If you want to take it a step further, you can add jute, twine, ribbon or other material to tie these tags anywhere you like. You can also glue these onto your favorite projects, especially if you decided not to drill holes in them.
Some of you had also asked if you could use white paint in place of the gesso...I suppose you could, but, you just won't get the dimensional effect that gesso gives objects including the fact that the paint won't chip off the way that the gesso does adding to that vintage time worn feel.
For the past few weeks, every spare moment I have had has been spent making signs and tags of all shapes and sizes that I plan to use to embellish all kinds of future projects, especially for my upcoming craft show. I'll be showcasing these works at the Bloomin Festival the weekend of April 18-19.

Here you see a few of the things that I have attached them to.

They would look great added to just about anything don't you think? Hope I have inspired you to make some yourself.
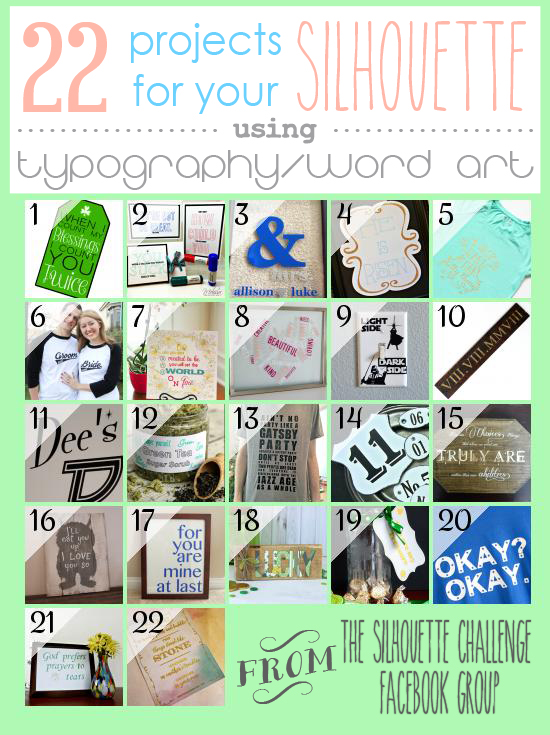
Want to Check Out More Silhouette Projects?
My Silhouette Challenge buddies and I are all sharing projects on our blogs today, so peruse the projects below for a wealth of Silhouette inspiration!
I'll be sharing here...
Before and After Linkup @ Thrifty Decor ChickMetamorphis Monday @ Between Naps on the Porch
Inspiration Monday @ Redhead Can Decorate
Mod Mix Monday @ Mod Vintage Life
Show and Share @ Coastal Charm
The Scoop @ Stone Gable
Tutorials and Tips Link Party @ Homestories A to Z
Before and After Linkup @ Thrifty Decor Chick
Amaze Me Mondays @ Dwellings
You're Gonna Love It Tuesday @ Kathe with an E
The Inspiration Board @ Home Work
Inspiration Friday @ The Painted Drawer
Inspire Me Tuesday @ A Stroll Thru Life
Awesome Things Tuesdays @ Cupcakes & Crowbars
From Dream to Reality @ The DIY dreamer
Vintage Inspiration Party @ Beyond the Picket Fence
Moonlight And Mason Jars @ Maison de Pax
Be Inspired @ Elizabeth and Co.
Wow Us Wednesdays @ Savvy Southern Style
Creative Spark Link Party @ Weekend Craft
What's It Wednesdays @ Ivy and Elephants
Share Your Cup Thursday @ Have a Daily Cup of Mrs. Olson
Treasure Hunt Thursday @ From My Front Porch to Yours
Home and Garden Thursday @ A Delightsome Life
Your Turn to Shine @ Anderson And Grant
The Idea Box @ Mila's Little Things
Think and Make Thursdays @ Little Red Brick House
Be YOU tiful @ Chic California
On Display Thursday @ Average But Inspired
The Creative Circle @ Blue I Style
Home Sweet Home Thursday @ The Charm of Home
Inspiration Friday @ The Painted Drawer
What To Do Weekends @ Crafts a la mode
Shabbilicous Fridays @ Anastasia Vintage
Feathered Nest Fridays @ French Country Cottage
Weekend Retreat Link Party @ AKA Design
The Handmade Hangout @ TMTOMH
The Inspiration Gallery @ Craftberry Bush
Furniture Feature Friday @ Miss Mustard Seed
DIY Inspired @ The Girl Creative
Flaunt it Friday @ Chic on a Shoestring Decorating
Upcycled Link Party @ Funky Junk Interiors
Simple and Sweet Fridays @ Rooted in Thyme
Creative Collection Link Party @ Blooming Homestead
Share it One More Time @ One More Time Events
Sundays at Home @ Thoughts from Alice
Something to Talk About @ The Altered Past
Project Inspired @ Cupcakes and Crinoline
Share Your Style @ The Vintage Nest
SITS Sharefest @ The SITS Girls


How adorable! I'm not very crafty but I think I would like to give these a try! Thank you for sharing!
ReplyDeleteI love this! I have a few vintage bottles these would work perfectly on.
ReplyDeleteThese turned out really well. I live in France and get to shop at flea markets here and I thought yours were the real deal when I saw the picture. Many of the flea markets I go to have enamel numbers, but the prices have gotten quite high even here in France. Great project.
ReplyDeleteLove these!
ReplyDeleteWow! I'm with you, France and flea markets aahhh......Love those tags. I'll be off to Wal-Mart today!
ReplyDeletexoKathleen
Love these, they look amazing!
ReplyDeleteReally love the way that they turned out and the technique is so simple. Thank you for sharing. Cathy
ReplyDeleteThese are so great. I thought these w
ReplyDeletewere metal
Oh my, these look just like the real thing. Absolutely brilliant :)
ReplyDeleteYour numbered tags look great! What does the gesso do differently than just using white paint? I have never used gesso.
ReplyDeleteJennifer I suppose you could just use white paint. I was going after a thicker look so that when you distress you could actually see some depth. That is what the gesso gives you, added dimension.
ReplyDeleteI have used my Farragoz recipes for many projects, but never thought about these numbered tags I love so much. Thanks for sharing!
ReplyDeleteWow these are beautiful! Love the faux enamel idea!!! You did a beautiful job with these, what a great project!
ReplyDeleteWhat a cool project, love the tags, very brilliant!
ReplyDeleteJenna
Such an easy to follow tutorial. Loved it !
ReplyDeleteVery cool!! I love it and will try to do this....though I will have to use predone vinyl numbers....thanks for the tip!
ReplyDeleteNancy
wildoakdesigns.blogspot.com
I love these, they look so authentic. Thanks so much for sharing at Vintage Inspiration Party. I will be sharing on my Facebook page today also.
ReplyDeleteThis project looks great! Thank you for the idea. :)
ReplyDeleteThese are beyond awesome! You're so creative, I love them. Hope you're having a great day, Coco
ReplyDeleteThose are gorgeous! I'd never know they were wood. They look like metal! Great job.
ReplyDeleteGreat "Pinspiration" I can't wait to try them.
ReplyDeleteWhat a great way to turn wood into metal. I love it!
ReplyDeleteHello, I hopped over from Treasure Hunt Thursday. I just love your tags! Blessings, Cecilia
ReplyDeleteWow, these really are fabulous! Can't believe how much they look like enamel. Thanks for sharing them with SYC.
ReplyDeletehugs,
Jann
Love your tags and they really would look good on just about anything! Thanks for linking up to the DIY Sunday Showcase:)
ReplyDeleteLove your tags!
ReplyDeleteVery shabby chic :)
I hope you will share your project with our Link Up Party- Idea box:
http://milaslittlethings.com/2015/03/idea-box-thursday-link-party.html
xx
Mila
milaslittlethings.com
What a great technique, they look so good. Thanks for sharing your expertise!
ReplyDeleteLove your enamel tags. And you can hardly tell that they are wood and not metal. Great tutorial too. Thanks for linking up at the VIP!
ReplyDeleteThis is such a cute project! I really want to give it a try. I'll be putting tags on everything! ... Featured you at our party this morning. Thanks so much for sharing. Hope to see you again!
ReplyDeleteThese are wonderful! Thanks for sharing at Home Sweet Home!
ReplyDeleteSherry
These are so gorgeous and yet another reason why I need a Silhouette!
ReplyDeleteWhat a fun project.
ReplyDeleteI love these! Thanks so much for sharing! :-) Karen
ReplyDeleteWhat an awesome tutorial! Would love to know the font you used from the Silhouette store so that I can replicate this look myself.
ReplyDeleteThose look awesome! I am duly inspired to try my hand at it. Thanks for the tutorial.
ReplyDeleteDavid
Thank you so much for linking up with iDEA boX !
ReplyDeletexx
Mila
Thank you so much for linking up at Shabbilicious Friday! It's my turn to pick features and I love the outcome! I can see these being used most anywhere in my home! Love your blog!
ReplyDeleteThese are gorgeous!! I love a pop of black and white and French style. Thanks for linking up to The Creative circle.
ReplyDeleteThese are so great - such a smart technique! Thanks for linking up with us at the The Creative Circle - I hope you'll join us again this week!
ReplyDeleteLucy! These are great!! They look just like the expensive metal tags. Can't wait to make some! Thanks for sharing on Something To Talk About!
ReplyDeleteHope to see you at the Country Living Fair next month :)
These are great! So creative! Thanks so much for linking to Inspiration Friday! Pinning!
ReplyDeleteThey turned out so pretty and realistic! love them!
ReplyDeleteThese turned out awesome!
ReplyDeleteThanks for taking the time to leave a comment on my diy faux enamel tags Pamela! It means a lot coming from a blogger that I admire! :o)
DeleteThanks ladies for your kind words!
ReplyDeleteI'm trying this! I have a silhouette. Time to fire it up.
ReplyDelete